Welcome to the next stop in the
Scrap Our Stash Christmas in July blog hop! If you've just happened to stumble across my blog, go back to the
start so you can join in on all of the fun! Today I'm going to show a quick little tutorial on how to make a simple, but cute gift card holder.
First, you cut a piece of cardstock slightly larger than the gift card. I really don't like to measure, so I just eyed this. I used my Tonic Studios scoring tool to get perfect creases!

Second, you cut some patterend paper to add to the front of your piece of cardstock. Again, I don't like to measure, so I cut this out larger than I needed and then cut it down again. I also used a corner punch on both the cardstock and the patterend paper.

Here, I folded the creased cardstock and added another small strip of patterened paper to the bottom flap.

Now we need to make the paper "band" that goes around the gift card holder to keep it closed. I folder the holder and again roughly measured a strip of paper for the outside. I made it slightly larger than the folded holder.

I then wrapped the paper strip around the holder and then I folded the excess bit of paper over and glued it down.

Here I used my Martha Stewart border punch to make a scalloped edge for my paper band. Once I had the strip, I glued the outter edge of the scalloped pieces and inserted them into the inside of the band. Everything sticks so well with the ATG gun! I also added a gingerbread sticker to the front of the band.

On the inside I put a "Merry Christmas" sticker and a place to put the sender and receiver's names.

And here's the final outcome! It's so simple!

Now, here's the good part! If you decide to make one of these gift card holders, then link your project back here, and you'll be entered to win a small surprise RAK from me =)
Rules:
a) The project must be new as of July 22, 2010;
b) Projects need to be linked back here by July 25, 2010 (winner announced shortly after); and
c) You need to become a follower of my blog
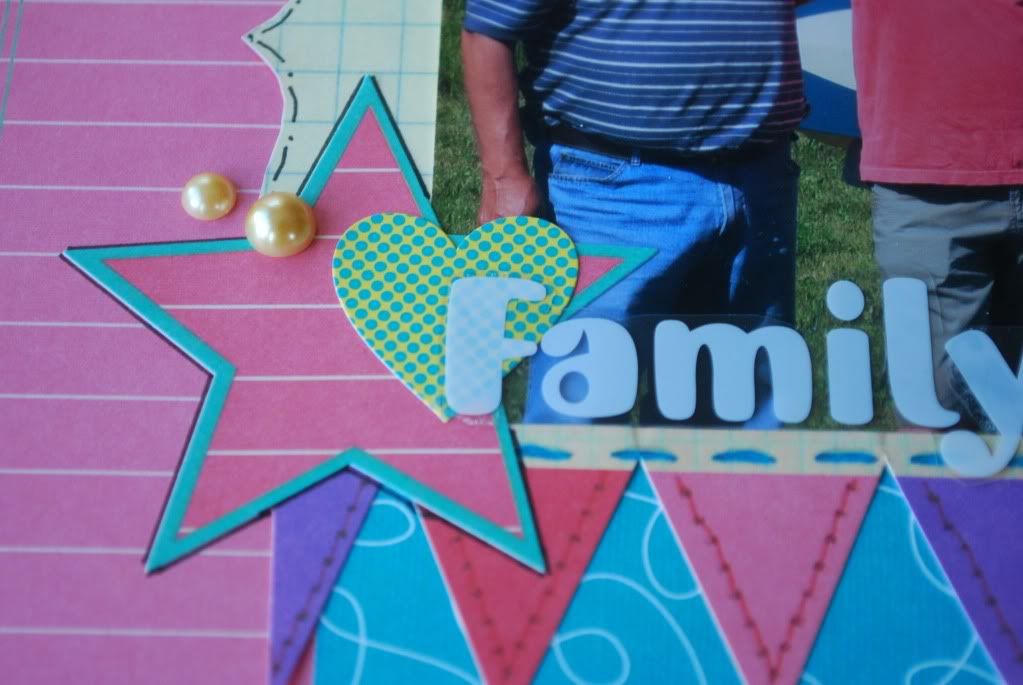
So, the word that everyone has been waiting for is "family" and the next stop on the blog hop is
Stephanie!


